
Before letters: lines
Start here: six pages, from standing lines to an X.
6 lines · 6 pages · PDF, 523 KB
Download lines before letters PDFFree printable sheets for children who are not ready for letters yet: standing lines, sleeping lines, slanting lines, crosses and X, then curves, circles, waves, zigzags, bridges and loops. Each page is one big shape in four steps: trace dark dots, trace pale dots, join the start dots on your own, then draw it in the empty row. When the lines come easily, move on to print capitals and small letters.
Download
Start here: six pages, from standing lines to an X.
6 lines · 6 pages · PDF, 523 KB
Download lines before letters PDF
Seven pages of curves and joined shapes, the parts of most letters.
7 shapes · 7 pages · PDF, 784 KB
Download curves and shapes PDF

Watch it drawn
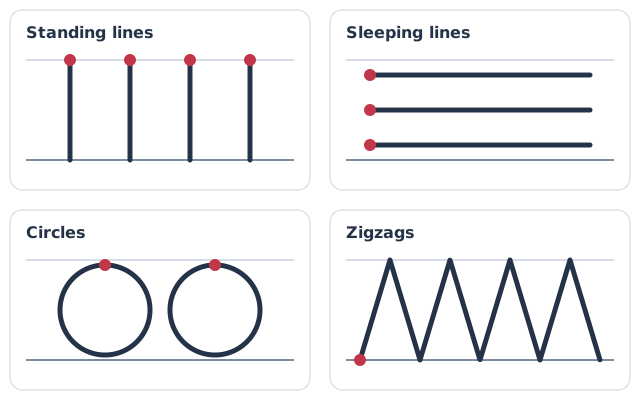
Children usually manage straight lines first: standing lines, then sleeping lines. Circles come next, and slanting lines, crosses and an X often come between about 4 and 5. Children's occupational therapy services publish this order as a guide only: practice and chances to draw matter more than a birthday, so start where your child is.
Keep it short and easy to finish. One row a day is enough, and stopping when the hand is tired is part of the plan. If a step is too hard, go back one: more dots and fewer empty rows.
Sit with feet flat, the paper on the same side as the writing hand and the other hand holding it still. A thick crayon or a short pencil is easier for small hands than a long one.
Schools teach different starting points for some letters. The dots and arrows on these sheets show a common way; if your child's school teaches another, follow the school.
When your child writes words on their own, the English practice worksheets work on spacing and size, and the cursive worksheets come after print.
Make a tracing sheet with your child's name in print letters: the name tracing worksheet maker.
Sheets for other scripts: Malayalam · Kannada · Telugu · Hindi · Tamil · Cursive.
Not sure which sheet suits your child? Ask our team. Once your child writes words, the free handwriting check shows which parts of the writing to practise next.